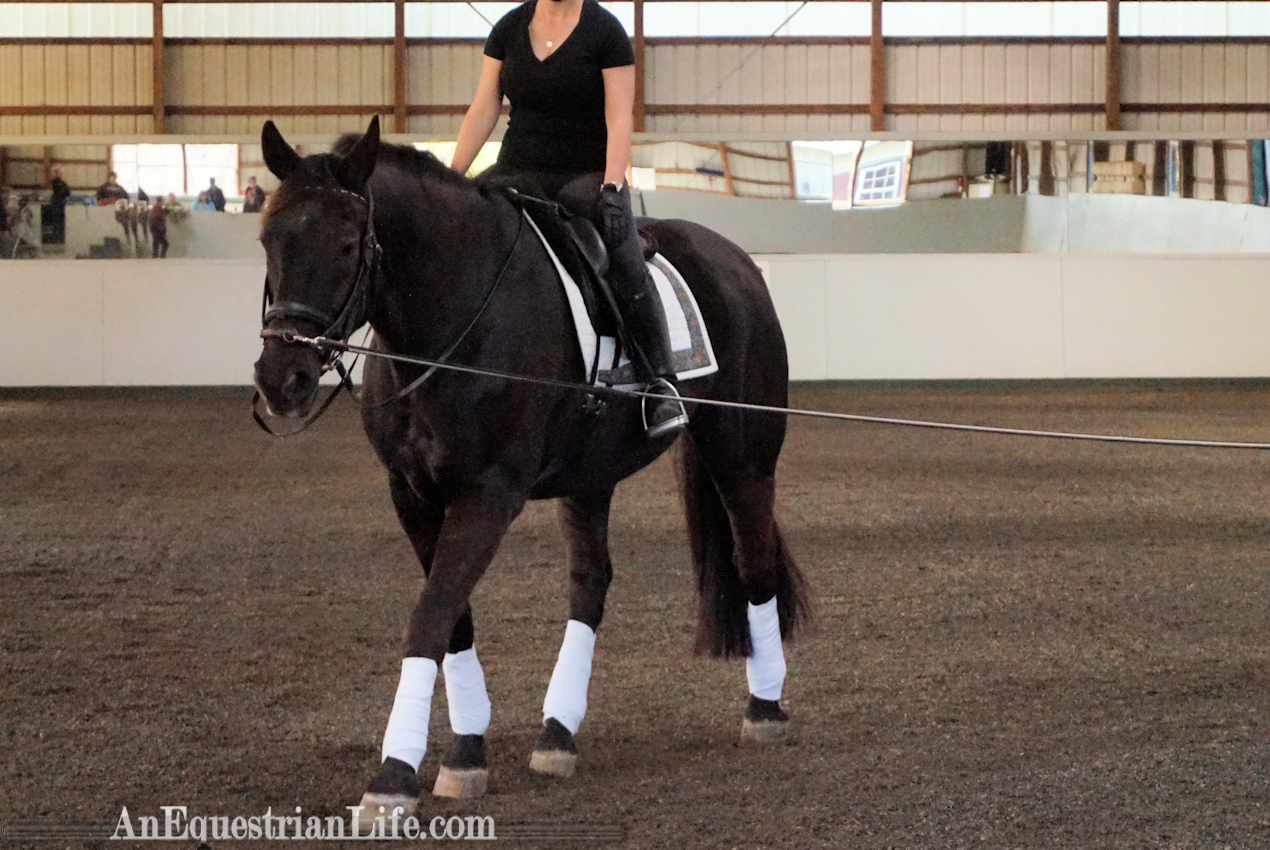
This past weekend, I went to a Lunging and Long Lining Clinic taught by my dressage trainer Mary Flood. Mary has all three of her USDF Medals, and was on the USET Long List, and competed in the 1992 Olympic Screening Trials. She’s also just a cool, cool lady.
I will admit that I haven’t taken a dressage lesson in ages, but when I am planning to make more of an effort to go. I started going to her when I had Evee, my ex-thoroughbred that was half spoiled, half conniving opportunist, and she got her under control, using the techniques I saw in the horse working part of this clinic. (I still got rid of Evee, and that’s because riding is a hobby for me, and she made riding not fun.) Later, I took Berry there when she was a wee little baby, and she did some work with her on the ground, although not as extreme, because Berry doesn’t have a shriveled black heart. I’ve also taken Vintage there for lessons. Now I just need to take my pony, and then the circle will be complete, Mary will have worked with all my horses (leaving out Clay, because frankly, he no longer walks among the living) I’ve also taken lessons on the horse featured in this post, the super cool Lance.
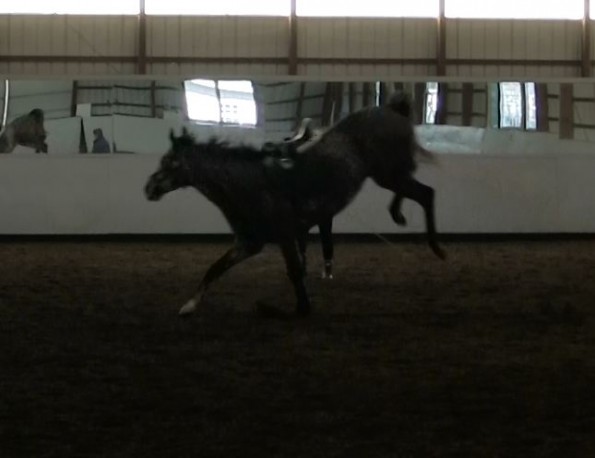
This is Evee in the process of being brought down to earth by Mary.
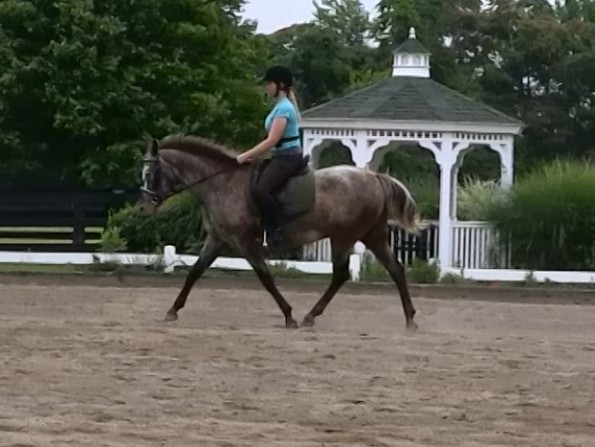
This is Vintage, in front of Mary’s gazebo.
But I digress, that’s enough background information.
Mary began the clinic by talking about all the reasons to lunge.
- Obedience.
- Exercise (and increase fitness).
- Learn to move on a circle, bend.
- Observe how the horse moves.
- Rider seat development.
She told us that overall, lunging creates balance, rhythm, cadence, and overall a strong horse. She told us that because there is multiple reasons to lunge, she understands that horses will act differently on the lunge. For example, since lunging is used for exercise, she won’t punish a fresh horse for acting fresh. Playing on the lunge is okay!
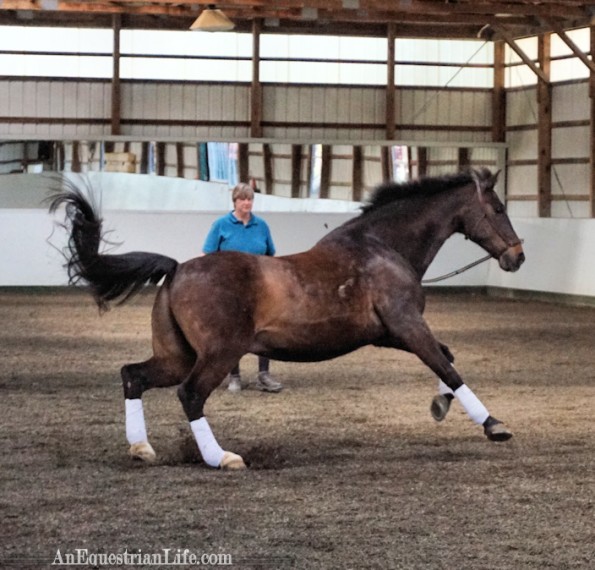
20 year old former FEI dressage schoolmaster demonstrates acting fresh. He was bucking like crazy but I didn’t manage to get an airborne shot.
Mary also talked about the reasons for in hand work, some of which overlap the lunging.
- Development of communication for green horses, and prepares them for lunging.
- Balance.
- Strengtheners weaknesses.
- Teaches collected work.
- Physical rehabilitation.
Equipment
Mary talked to us about the equipment she recommends and uses.
Lunge Line – Obviously you’re going to need a line, but she specifically recommends the soft cotton ones, because for some reason, they don’t tend to catch on things. As in, if your horse gets away from you, the line won’t get caught on the fence, farm equipment, ATV, etc. I can actually vouch for this, because just this week, my hormonal mare went crazy on the lunge long and got away from me. I didn’t have the arena gate closed, and she ran all over my field and back to the barn. And nothing caught. I didn’t know it was because of the cotton line, I just thought I was massively lucky. But apparently, cotton lunge lines are pure magic.
Whip – Mary talked about how the length of the whip effects its use. The longer ones are heavier and less accurate, but can have more of an impact. The shorter ones are lighter, more agile, and can be used with greater precision. The horse should determine the whip. A dull might need the impact of a longer one, while a hot horse might need the precision of a shorter one.
Bamboo Stick – I’ve known about the bamboo stick from the days of Evee needing an ass-kicking, but it was unexpected to many participants. The bamboo stick, which should be longer than the horse’s leg to get you out of kicking distance, is primarily used as an inside leg to teach the horse to bend, but also to teach the horse to bend at the joints, eventually leading to teaching piaffe in hand. More on that tomorrow.
Sturdy Boots – For you, you don’t want to be tripping over yourself.
Sturdy Boots – For the horse, as in, polo wraps, dressage boots, whatever your preference. Don’t let your horse hurt himself.
Surcingle – She recommends the kind with rings raised, not the kind where the rings flop around loose, to ensure there is no interference in the line.
Leather Caveson – She likes the ones that fit snug, with no padding, and not too big or bulky. She said that all that padding interferes with communication with the horse.
There were a few controversial items talked about:
Side Reins – Mary clarified that she doesn’t entirely hate side reins, but yes, she kind of hates side reins. It can be dependent on the horse, but overall, she doesn’t like a device that just sticks the horse’s head in a position. She explained to us that they just drop the horse’s head, but do not make them through, and it does not develop the muscles on the horse’s back, it weakens them. When someone asked about riding with side reins, she shuddered and told us never to do that. It’s unfair to the horse to expect it to hold itself up like that. She added that control of the shoulders is way more important that position of the head, and once the shoulders are control, you can put the head wherever you want.
Draw Reins – I expected Mary to hate draw reins more than side reins, but she surprised me. She informed us draw reins could be okay, if used for a very limited time, and only one side of the draw rein. She informed us the sliding effect doesn’t teach the horse connection, but if a horse was having trouble understanding connection in normal reins, using just one side of the draw rein could help explain it to the horse. She emphasized this should only be done for a very short time, and only under supervision. She showed us how the draw rein would attach to the first strap of the billet, and then come through the bit. Someone asked her about having it attach between the legs, and Mary replied, “Never, that would bring the horse down on the forehand. Try sticking your head between your legs, and see where your butt goes.”
Rider Exercises
The first demonstration was exercises for the rider. She emphasized that an independent seat and hands are extremely important, and riders don’t deserve to have their reins if they can’t do these exercises. She gave us a whole bunch of exercises to work on, all to be done at walk, trot, and canter. The amazing rider from yesterday’s post was the demonstration rider.
There’s many variations of these exercises – they should all be done at walk, trot, and canter, and there’s three different positions to do them in. We are all familiar with deep seat, and 2-point, but she also talked about vertical position. For this, you would strand up completely straight in the saddle, with your leg completely straight with no bend. There was also alterations of dropping the stirrups, and crossing the stirrups up. She’s serious about that independent position!
Before she started the demonstration, she told us it’s important to be safe, and because of this, don’t tie up the horse’s reins in a way that the rider can’t reach them. The rider should always be able to reach down and grab those reins if something went wrong. On Lance, she ran the reins through the bucking strap to keep them from falling forward, but did nothing else with them.
Boxing the Air
Like it sounds, you continually box the air in front of you, alternating hands. This is an exercise in creating independent hand movement.
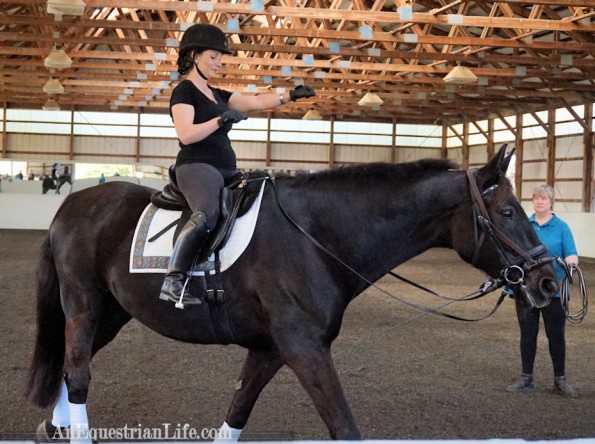
This is boxing the air. You continually punch your fist out, alternating hands.
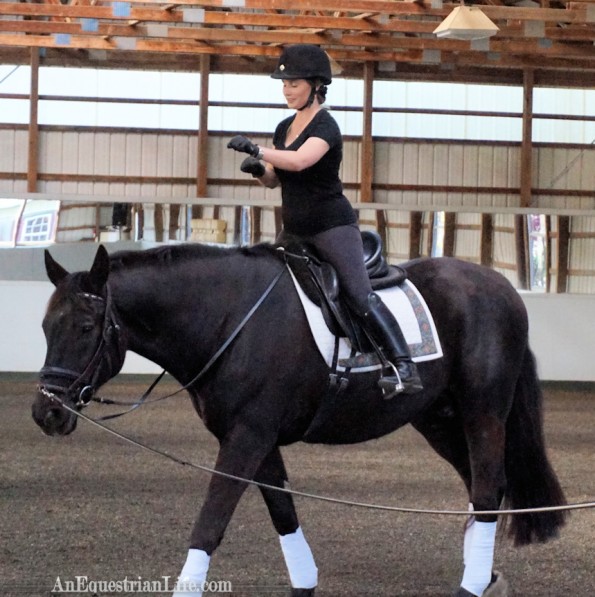
She is still boxing the air, but she is demonstrating Vertical Position, which is standing up, making your leg completely straight.
Windmills
Rotating your entire arm backwards in circles. This opens up the shoulders and the chest. Mary says most riders have too much tension, and relaxation is a good thing! A variation of this is shoulder rolls, rotating both shoulders around front to back, and dropping your shoulder when it’s in it’s heaviest spot.
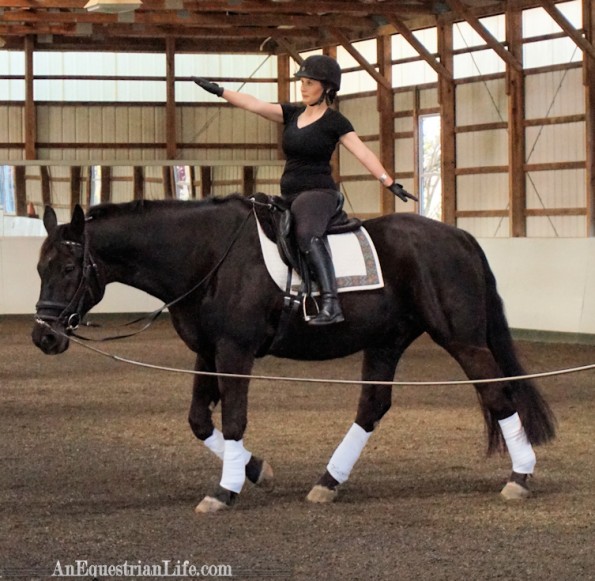
Windmills to open up your shoulder.
Body Lengthening
Stretch up to the ceiling with one side of your body, raising your hand, and lengthening your leg.
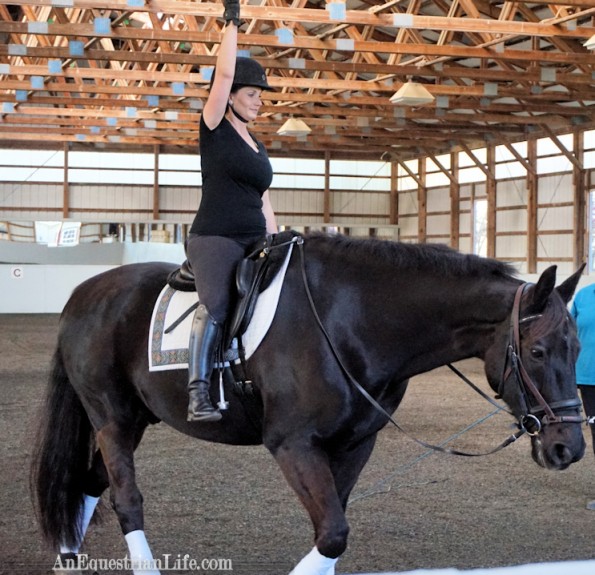
Lengthening each side of the body. Reach towards the sky with your arm, and towards the ground with your leg.
Arm Raises
Done in a sequence of every four steps or strides (depending on gait), riders go from arms to the side, to arms above the head, to arms in front.
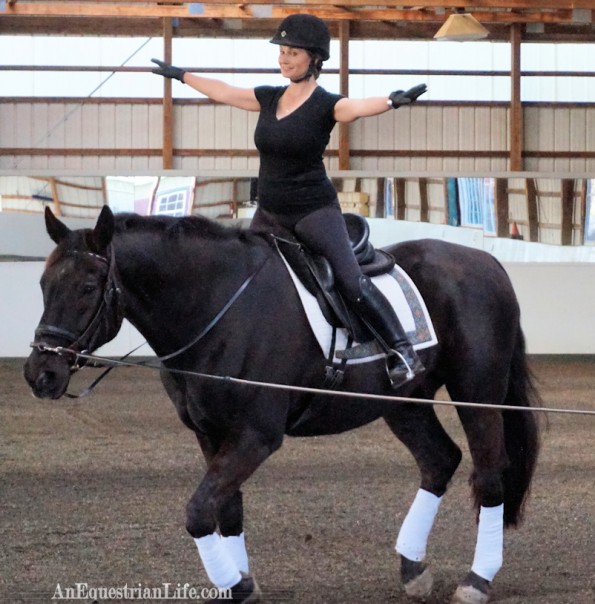
Arm raises (in this instance, done in vertical position).
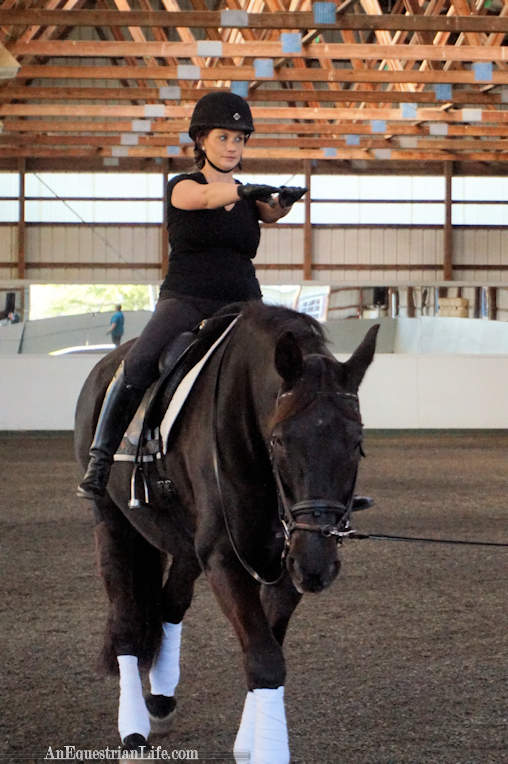
Here she is doing the arm lift out in front, and also doing the bicycle.
Bicycle
This can be done independently, or as above, in combination with one of the other exercises. The rider lifts the leg up from the thigh, using the horse’s push to create the motion. As in, the horse’s belly will push out, that’s when the bicycle is done. This exercise teaches the rider to learn the footfalls of the horse. When the horse’s back leg pushes against the ground, the corresponding side of the rib cage will push out. This is when the leg is lifted.
As a further exercise, Mary also recommends using a ground person to watch the leg, and having a rider say “Now”, when the inside leg is lifted into the air. The leg is at it’s most influential at this point, so the rider needs to be able to feel the footfalls to time her aids.
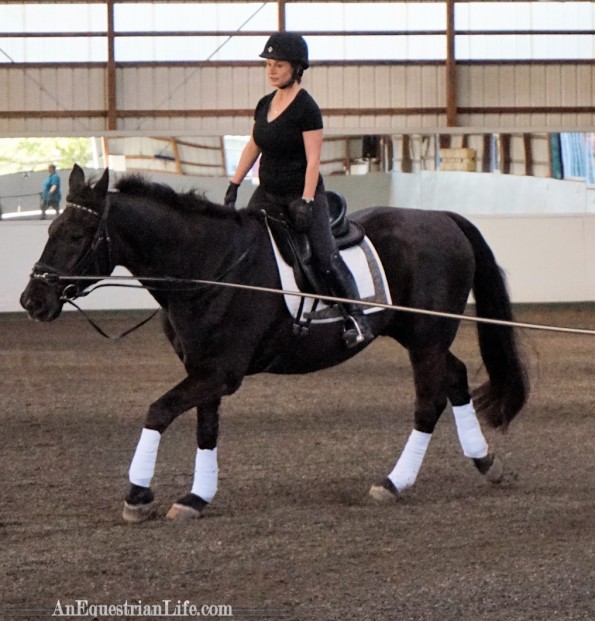
Vertical position at a canter.
After going over the exercises, Mary told us there are too phases to doing these rider exercises.
- Lunger controls the horse’s actions (Walk/Trot/Canter/Halt).
- Rider controls the horse’s actions (Walk/Trot/Canter/Halt).
I’d venture to say anyone who can do phase two of these exercises/variations at w/t/c probably has the greatest seat known to mankind.
Later on in the clinic, it was time for the attendees to give it a try. Not unsurprisingly, it was harder than the talented, just had a baby, rider made it look. The first rider was tense, and her horse was tense. Mary had her bend at the hips and lean all the way forward, reaching for her horse’s head. It was an exercise intended to relax her, and it worked. After stretching out a few times, she sat up, and began the exercises. She did beautifully after that, and there was even a noticeable positive change in her horse’s stride.
Mary showed us exercises to work with the horses, and that’s coming up tomorrow!

Nicole
Jealous! You have been going to such cool clinics! I WANT SOMEONE TO LUNGE ME LIKE THAT!!
Courtney
NicoleI need someone too! If only there was someway to solve both our problems!!
Erin
Sounds like another great clinic!
Courtney
ErinIt was awesome!
Lunging and Long Lining Clinic: Working with the Horse - An Equestrian Life
[…] Continuing on with Mary Flood’s Clinic, we talked about working the horse next. The first part, Rider Position, is here. […]
Micaylah
The vertical position seems very interesting