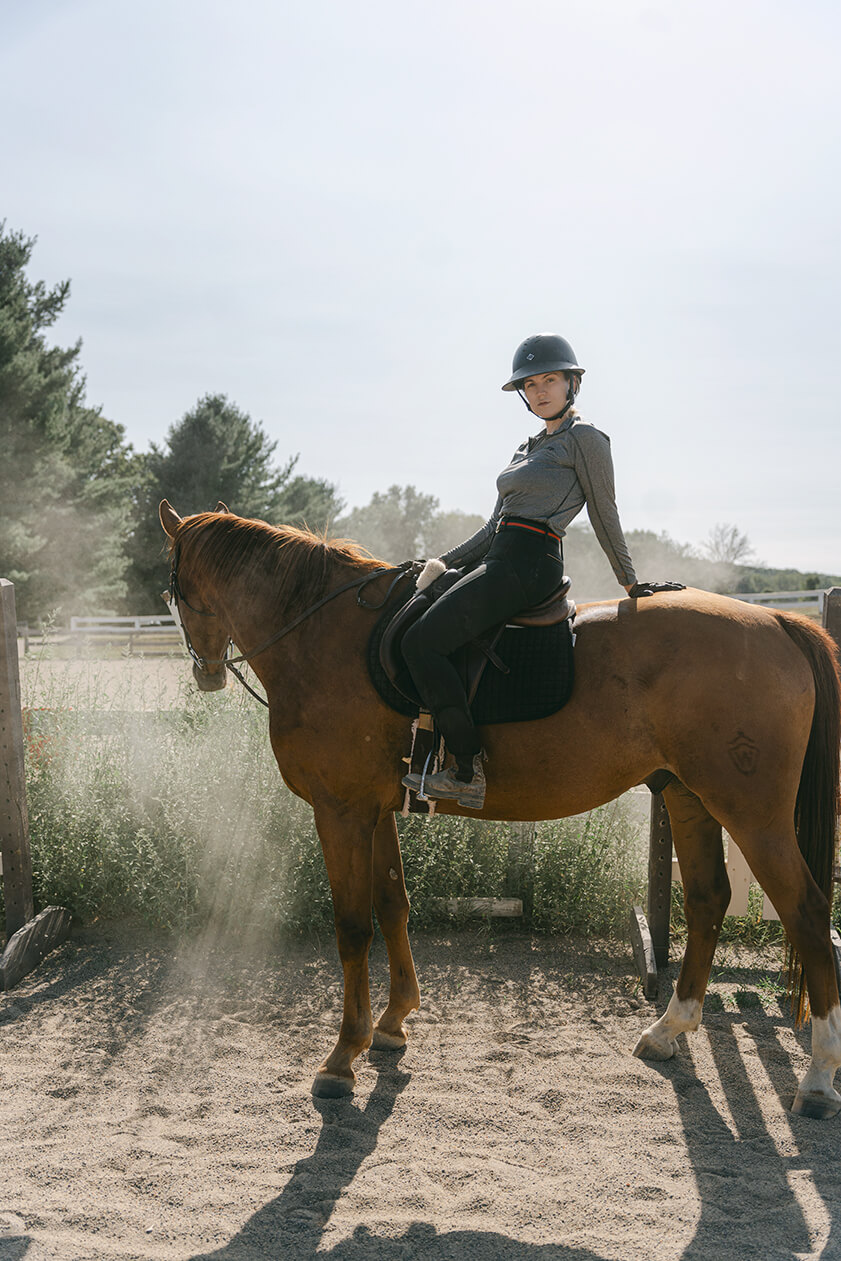
Your camera roll is probably already filled with photos of your horses. They are definitely the best subject you could be photographing, and I highly encourage this habit.
If you’re wondering how to take your photos to the next level, you’ve come to the right place. There are a few guidelines and tips that can help you get your best horse photos yet.
My two passions are horses and photography. If I absolutely had to choose one, it would be horses, but it would be a bit sad for me to never photograph again. Luckily, I can’t foresee any situation where that would happen, but you never know. Life is mysterious.
I love photography. I’ve photography since my first little film camera I got when I was 8 (saved up the money myself! It was about $35), later on I bought a digital camera, and then I was the person in my friend group who was always taking photos. One day I decided I actually wanted to be good at it, and I started learning everything I could about photography. Then like magic, I was a professional photographer. Not how I expected my career path to go, but I’m very happy with it.
Naturally since horses are my #1 passion, horses (and their people) are my favorite subject! Horses are gorgeous subjects, and a really great capture is so fulfilling.
While my examples are done with my camera, you can use the exact same advice for your cell phone. Follow the same guidelines and you’ll get similar results. Let’s get started.
Be Aware of Distortion
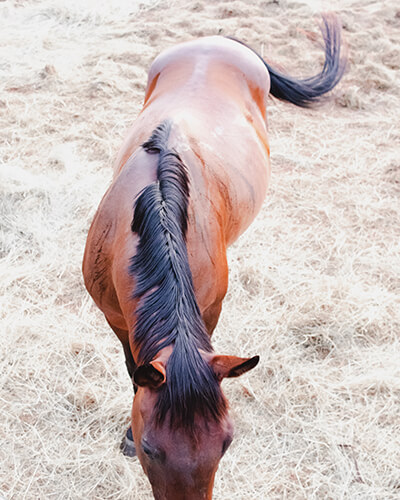
Horses are long animals. If you’re taking a photo of one of their ends, it’s going to look monstrously huge compared to the rest of them.
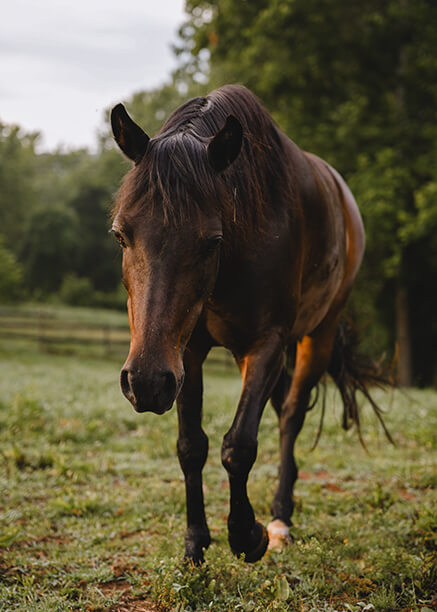
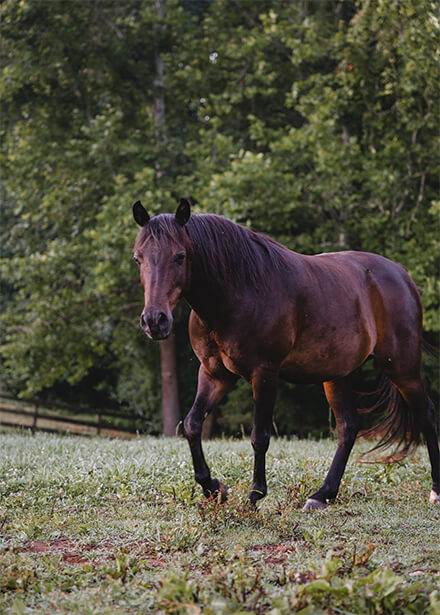
Usually this happens when you’re standing right next to them. The solution is to back up and get more space between you and the horse. Back up, and then use your zoom if you’re trying to isolate the head. That’ll make for a less distorted image.
Check Your Own Position
Where you take your photo from makes a huge difference. It seems really simple, but most people just point their camera at their subject without moving and click the shutter. This doesn’t make the most flattering or pleasing image. Just like above, you can distort your subject by changing your angle.
Start with moving yourself to be eye level with your subject. Since the face is usually the focal point, with the camera at eye level your subject will be the least distorted. If your subject is above you, you could try a ladder. If your subject is below you, crouch down.
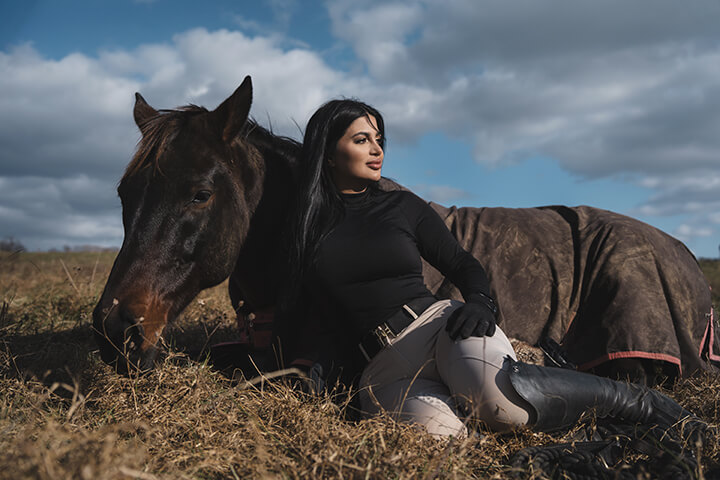
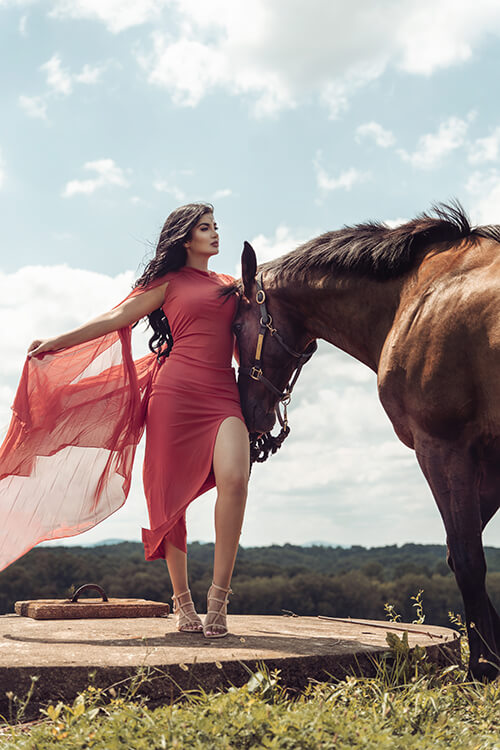
But, sometimes you can change your angle to change the distortion. I frequently crouch down below my subjects if I want their full bodies in frame because it makes people look longer. If I took the below image at eye level, the subject’s bodies would look way different – usually with a long torso and short legs. If I took them above eye level, the subject would look squat and short. This applies to both humans and horses.
Watch Your Backgrounds
This is probably the number one issue with people’s images, and it’s so easy to fix – Not paying attention to your surroundings!
When you photograph your horse, you’re likely in the moment, not noticing anything other than your beautiful horse. You’re in a 3-D world, after all, you see what’s in front of you. But when you post the photo, it’s 2-D, it’s completely flat. People will see exactly what you show them, which includes your subject… plus all the other stuff that might be around you. The potta-potty, a traffic cone, trees sticking out of heads, manure, etc. People overlook how much this changes your image. You see your beautiful horse, but everyone else sees clutter, or they can’t tell what the subject is because there’s too much going on.
Watch your background, and whenever possible just move yourself or the object, or adjust your angles to cut stuff out of the photo. The less clutter or unrelated things, the better. Simplify your photo!
Look for Interesting Light
Most people know that light is the most important part of a photo. It’s true, it can make or break your image. Bad lighting cannot be fixed, not even in photoshop, and believe me, I have tried to salvage many. I’m sure everyone has heard they need to “understand the light,” but honestly I’ve always found that really vague advice that is hard to follow because, what does that mean?
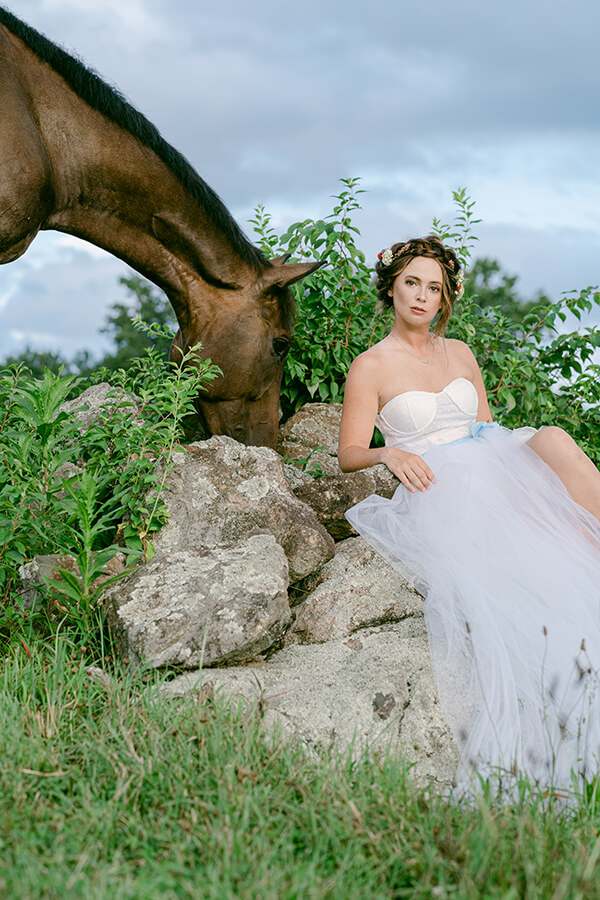
So, I’m going to tell you what it means. Understanding light means understand what different qualities and angles of light do for your subject. Good light is light that will flatter your subject and tell a story. For example, direct overhead light, like a bright sunny day, causes a lot of dark shadows on people’s faces, which is not flattering. For a horse, you might be able to use it to really define their muscles, or it might just end up making too much contrast on their coats. That’s where the “tell a story” part comes in. You might decide that you like the heavy contrast that kind of light casts.
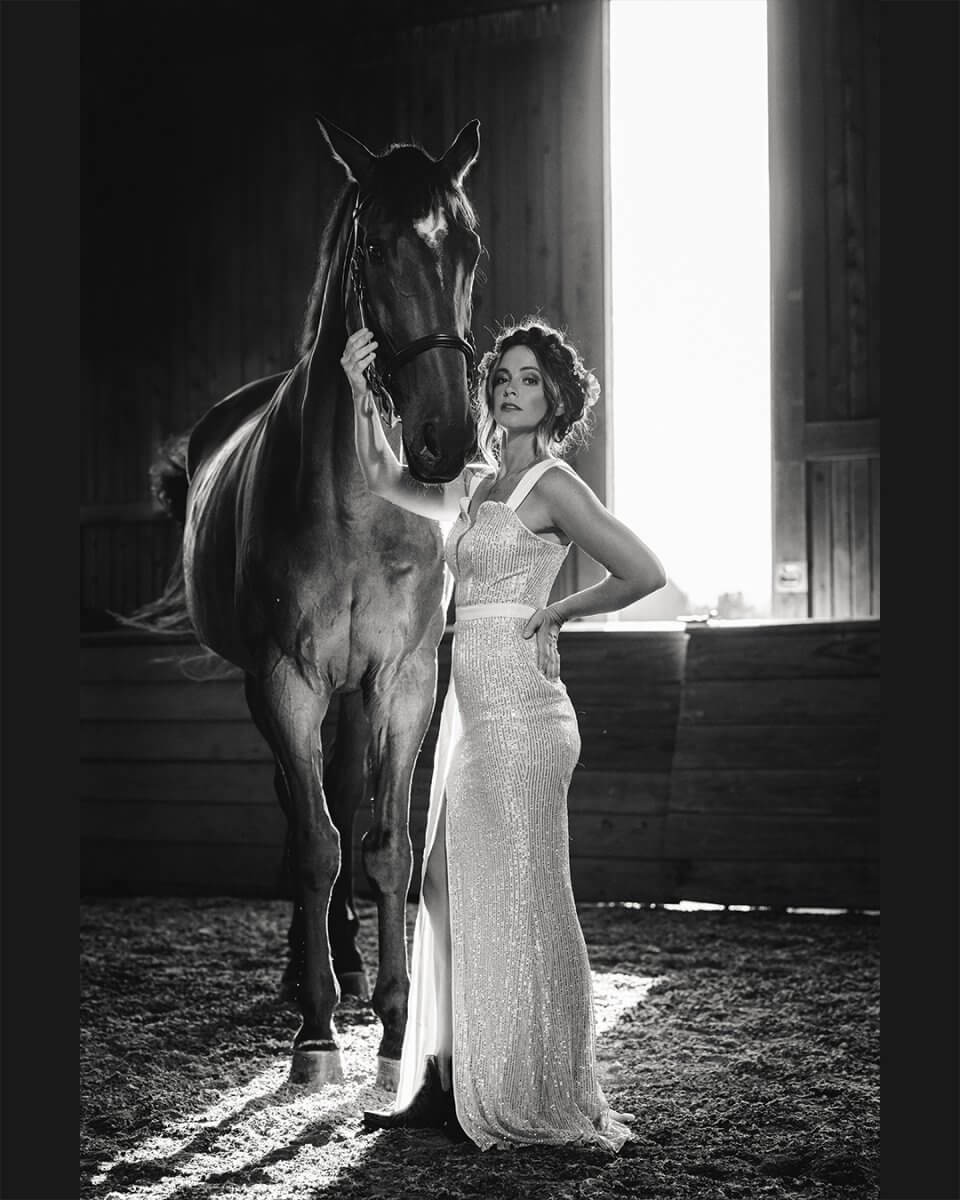
Or if you decide you don’t like that kind of light, luckily there’s a pretty simple fix, just rotate around your subject, basically shoot into the sun. Photograph that shadow side of your subject. That is understanding how light effects your image.
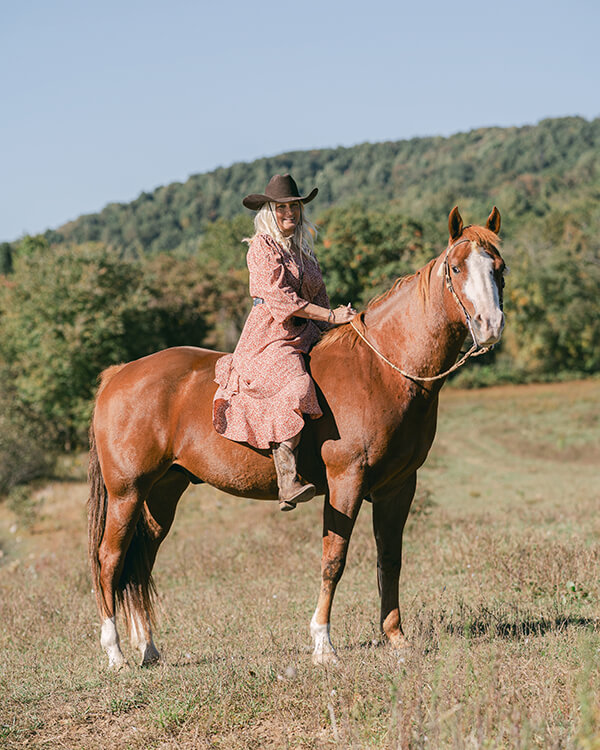
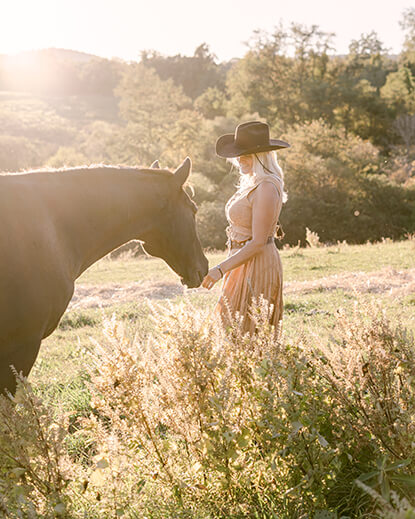
Universally flattering light is usually the light at sunset or sunrise, the golden hour. It’s softer than midday light, which means less shadows on your subject. It also has a bit of orange cast to it, which is very flattering to most people and horses. It’s the best time to try to get photographs because it’s hard to get this light wrong.
But there’s a variety of different light, either natural or man made, to explore. You can really start playing with the light to figure out what you like, what makes sense for your subject, and how you want your image to look.
Add a Foreground
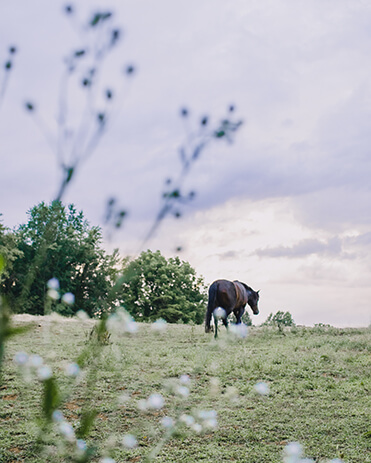
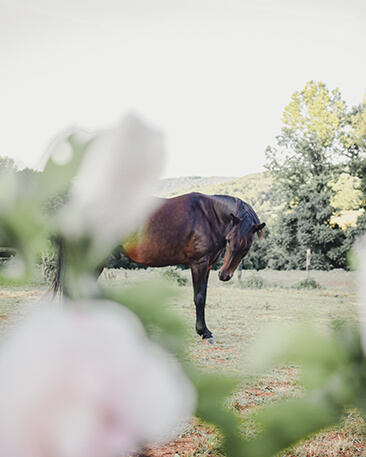
Think of your photo as layers. There’s your subject, the middle layer, and then your background is another layer. You can add a layer in front to add dimension to your photograph. It’s not a technique I have used a lot recently, but it can add some spice to a boring shot.
Tall grass is a great layer to add. You could also add foliage, fencing, a jump, boots, or any other horse related accessories you could think of. Play around with it to see what makes sense for your image.
Rotate, Move, Try Something New
After I’ve set up a shot, I take a bunch of photos, and then I rotate myself around to a different spot. It’s amazing how much things change by just changing your own positioning.

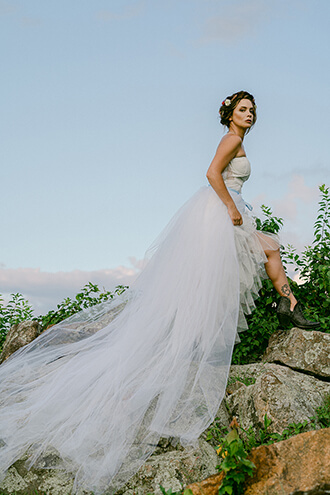
Just moving to a different spot has given me inspiration for new poses and compositions. Many times I’ve ended up with images I love way more than my original idea.
The best way to learn photography is just to go do it. Try everything, experiment, and take chances. I don’t think people are born with a photographic eye, I think it develops over time, with lots of practice and reflection. I look at my photos each photoshoot and see all sorts of ways I could improve. With time you’ll start seeing more and more what you can do in the moment to make the photo better.
Keep practicing and see where it gets you!
Although if you do want some great photos but would rather just pay for them, you can just hire me!
Check out more of my work!
